This is the second half of the felt boot tutorial. (see http://tangibledaydreams.blogspot.com/2010/10/tutorial-making-felt-slippers.html) The last tutorial showed how to make a pair of felt boots that are molded to your feet. It ended here:
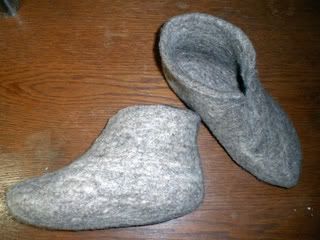
I could have easily stopped here if I wanted a set of house slippers. However, this particular project was to recreate a pair of Medieval ecclesiastic felt ankle boots. I took my inspiration from the boots worn by Bishop William Waynflete, that are now found at Magdalen College in the UK. Seen here: http://www.bodleian.ox.ac.uk/__data/assets/image/0010/36289/56_colleges_web1.jpg The trim pattern was based on other shoes of the time, such as these: http://en.wikipedia.org/wiki/File:Lithurgical_footwear_Str%C3%A4ngn%C3%A4s_cathedral_Sweden.JPG .
The shoes have the felt core, which is covered with fabric and soled with cork. This was my first attempt at making a pair like this. It worked well and looks like the original, but may or may not be accurate in construction. Here's what I did:
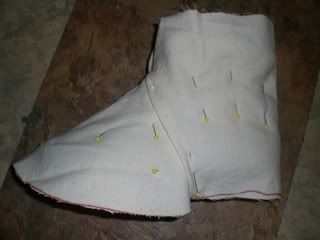
Take some cheap fabric, and pin and fit and pin and cut and pin and...etc...until you get a pattern you like. Keep in mind that the pattern for each shoe might be slightly different, since it is unlikely that each boot is exactly the same size. (Feet are funny that way.)
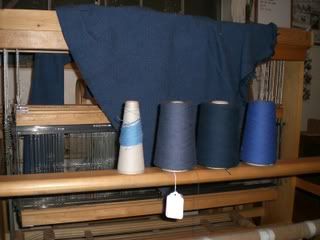
Weave your fabric. Or, I suppose, you could go to the store and buy some. :)

Cut your fabric according to the muslin pattern. Pin it in place, and sew it down to the felt.
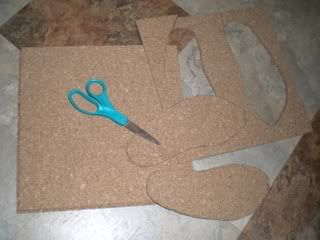
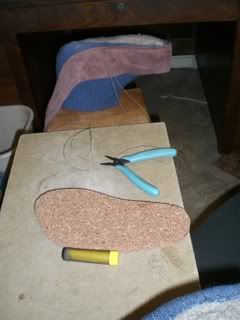
Stand on your cork board (I used cork bulletin board squares from Hobby Lobby), and trace around your feet. Cut enough layers to get the height you want.
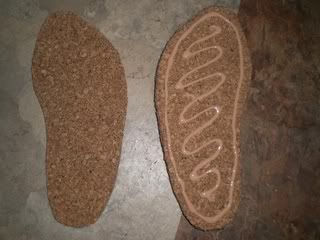
Glue your layers of cork together, and let dry. I used wood glue.
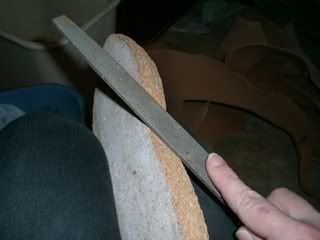
File the edges of your cork insoles nice and smooth.
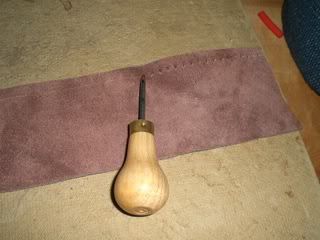
Cut a strip of flexible leather long enough and wide enough to serve as an edging for the cork. Punch your stitching holes.
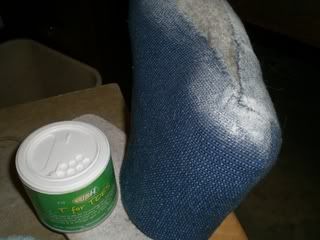
Powder your cork. Put on the felt boots and stand on the cork. That will give you an idea of where the leather edging (or 'rand') will go.
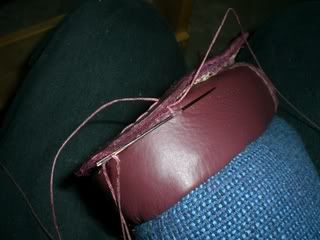
Stitch on the rand, upside down and inside out.

Flip down the rand and cinch the edges together around the cork.
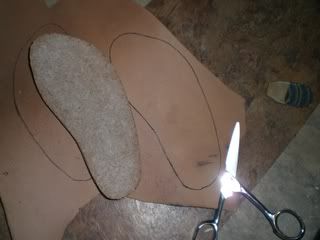
Take the cork back out for a moment, and trace around it on your sole leather. Cut out your soles, with a bit of an extra margin.
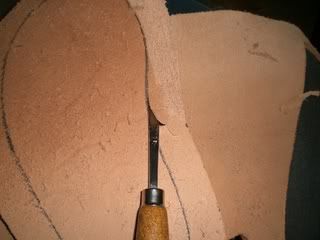
Bevel down the margin on your sole leather.
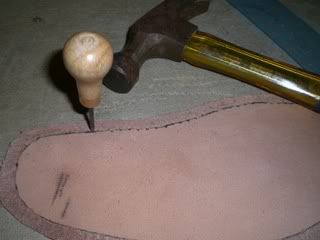
Punch the stitching holes on the soles, right along the tracing line.
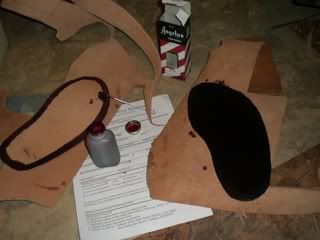
Dye your soles if you want to.
Stitch the soles in place. Next time I'm going to cut a groove along the stitching line first, to recess the thread (waxed linen) below the level of the leather. That will help with the longevity of the shoes. Then trim back the sole a bit, wet it, and press it upward so it rounds up over the edge of the insole to protect that seam.
Now, trim your shoes any way you like, and enjoy!

I found these are not great for tromping around in, because there is no flex to the sole. It is kind of like clomping around in 1970's clogs, but warmer. However, they are awesome for what they were originally intended for: keeping your feet warm and comfortable while standing on cold floors for a long time. I don't need to stand and give sermons in drafty cathedrals, but I do stand to weave on my tri-loom. These boots kept my feet warm and cushioned yesterday while I was working.


 Continued here: http://tangibledaydreams.blogspot.com/2010/10/tutorial-felt-slippers-into-1400s.html

 First, brush your hair back into a pony tail at the base of your head.
 Michelle is right handed, so she pulled the hair off to the right and started twisting it counterclockwise.
 Keep twisting and bring the ponytail up to the top of the back of your head. This should create that neat twist look.
 Keep twisting the pony tail into a rope, and then fold it down .
 Tuck the folded over ponytail into the pocket created under the twist.
 That first part takes some practice. It should look like this.
 To secure the twist with the hair sticks, grab a stick and poke it through a batch of the hair at the top edge of the twist, facing away from your holding hand.
 Let it poke through an inch or so until the tip bumps your scalp.
 Flip the hair stick around until it is facing the other direction, scraping the tip gently against your scalp while you so.
 Push the hair stick through the twist.
 This will hold more securely with two hair sticks. Insert the second one a bit further down, just like you did with the first one.
 Again, flip the stick around, gently scraping it against your scalp. Push it through the twist.