Friday, March 23, 2012

Contrasting gores in cotehardies

I am involved in a historical recreation group, and as such I ended up looking at making a cotehardie. Cotehardies were the height of fashion in the 1300's, and are usually what people think of as a Medieval princess' dress. To make a nice big flowing skirt, you add triangles of fabric called 'gores'. Now, one of the things I have been told is that making the gores a contrasting color to the rest of the dress just wasn't historically accurate. "Wrong, wrong, wrong!" is what I've read.

But...it is pretty! And I like it. And I'm stubborn, so I kept looking for documentation that perhaps sometime folks did this contrasting gores thing.

This evening I was wandering through the book, "Fashion in the Age of the Black Prince" by Newton, and stumbled across the following pictures:


And that last one reminded me of a line drawing from the book "Dress Accessories", from the Museum of London.


I'm thinking I'll make my cotehardie with contrasting gores, and feel pretty safe in the knowledge that it is perhaps plausible after all.

Edit: Also Figure 70 on this page: http://publishing.cdlib.org/ucpressebooks/view?docId=ft8k4008jd&chunk.id=d0e3511&toc.id=d0e3511&brand=ucpress
 

Edit again: I tracked down the picture that the last line drawing was based on, and this is why you don't trust line drawings. Take a look: http://vieuxchamps.com/persona/enlarged/wg/wpic3.php . The figure on the right does not have contrasting gores after all. The artist who did the line drawing was, I think, not looking closely. This image does, however, show the variety of patterned fabrics that could be used.

Friday, March 9, 2012

Viking Wire Weaving: Changing size and flexibility through the draw plate

I just finished up weaving a Viking wire woven necklace. (For instructions, take a look at this post: http://tangibledaydreams.blogspot.com/2010/03/tutorial-viking-wire-weaving.html ) I'm using 'Artistic Wire' in a couple of different colors this time around. I weave the necklace about half as long as I want the finished product to be, and then draw it through successively smaller holes in a draw plate. This shrinks down the diameter of the weave, increases the length, and turns a rigid tube of wire into a supple chain.

So, this necklace was just around 12" when I was done with the weaving portion.

I pulled it through smaller and smaller holes in the draw plate, all the way down to the smallest.

The final chain ended up being 23" long.

It always amazes me how flexible the chain gets!

I still need to add a hook and eye clasp to this one. And I'm also going to take sandpaper to the chain, to knock the colored coating off of the outside of the chain. That will leave the color on the inside, but expose the copper core of the wire on the outside, making a beautiful multi-tone necklace. (It means I don't have to worry about the color wearing off in spots over time and wear and ruining the look of the necklace, because I will have already knocked down the color in a controlled and thorough manner. It makes the eventual wearing off of color a feature, not a bug.)

Thursday, March 1, 2012

Not a dog rug. Really. (But it should be, right?)


Awhile before Christmas, I made a sheet of flat felt in order to make my sweetie a hat. I got around to starting on that last night, and put my felt, pattern, and scissors down on the ground to prep for cutting out the pieces. I turned around to get my camera (tutorial to come in a few days)...and when I turned back my pup had staked his claim to this absolutely perfectly sized wool felt puppy rug.

I wasn't actually going to cut into his rug...was I Mom? ....Mom?? I wasn't so horribly unkind and unfair to dogs, was I???

Yup. I was. The hat is cut out and sewn, and I need to check it for size before I put the finishing touches on it. My poor abused puppy will have to make do with curling up in my lap instead. (He's currently trying to convince me to quit typing, because it is making his arm pillow move too much.)

Sunday, February 26, 2012

Orange Vinegar

It is getting close to Estrella time for me (estrellawar.org), which means I'm starting to look at doing some food prep. One of the things I make every year is a drink called sekanjabin. I did a post on that one a few years ago, here: http://tangibledaydreams.blogspot.com/2010/01/sekanjabin-and-dried-fruit.html . It is a syrup made of vinegar, honey, mint, and water. The syrup lasts unrefrigerated for quite some time. To drink, you mix one part syrup with about 8 parts water, and serve it either chilled or hot.

Well, it is also orange harvest time here, and I was squeezing some oranges for juice today. I got to thinking...and put a cup of white vinegar aside with some orange peels and rosemary in it. I'll let it sit for a week or two, strain out the solids, and then put it in a spray bottle about half and half with water. I use vinegar water for cleaning, and I think the orange oils (cleaning) and rosemary (disinfectant) will add a nice punch to the home made cleaner. It should smell better, too.

And then as I was putting that on the pantry shelf to do its thing, I got to thinking about the upcoming batch of sekanjabin. And wouldn't it be good if I used orange infused vinegar to make it with? I had to try it. So, here is how I'm making the orange vinegar:


First I went and picked 8 oranges.


I brought them in and gave them a good washing, to get air born whatever off of the skins.


Then I used a potato peeler to take just the orange outer layer of peel off of the orange.


I had a bottle of apple cider vinegar with just over 2 cups left in it, which is what I need for the sekanjabin recipe. I popped the peels right into the bottle.


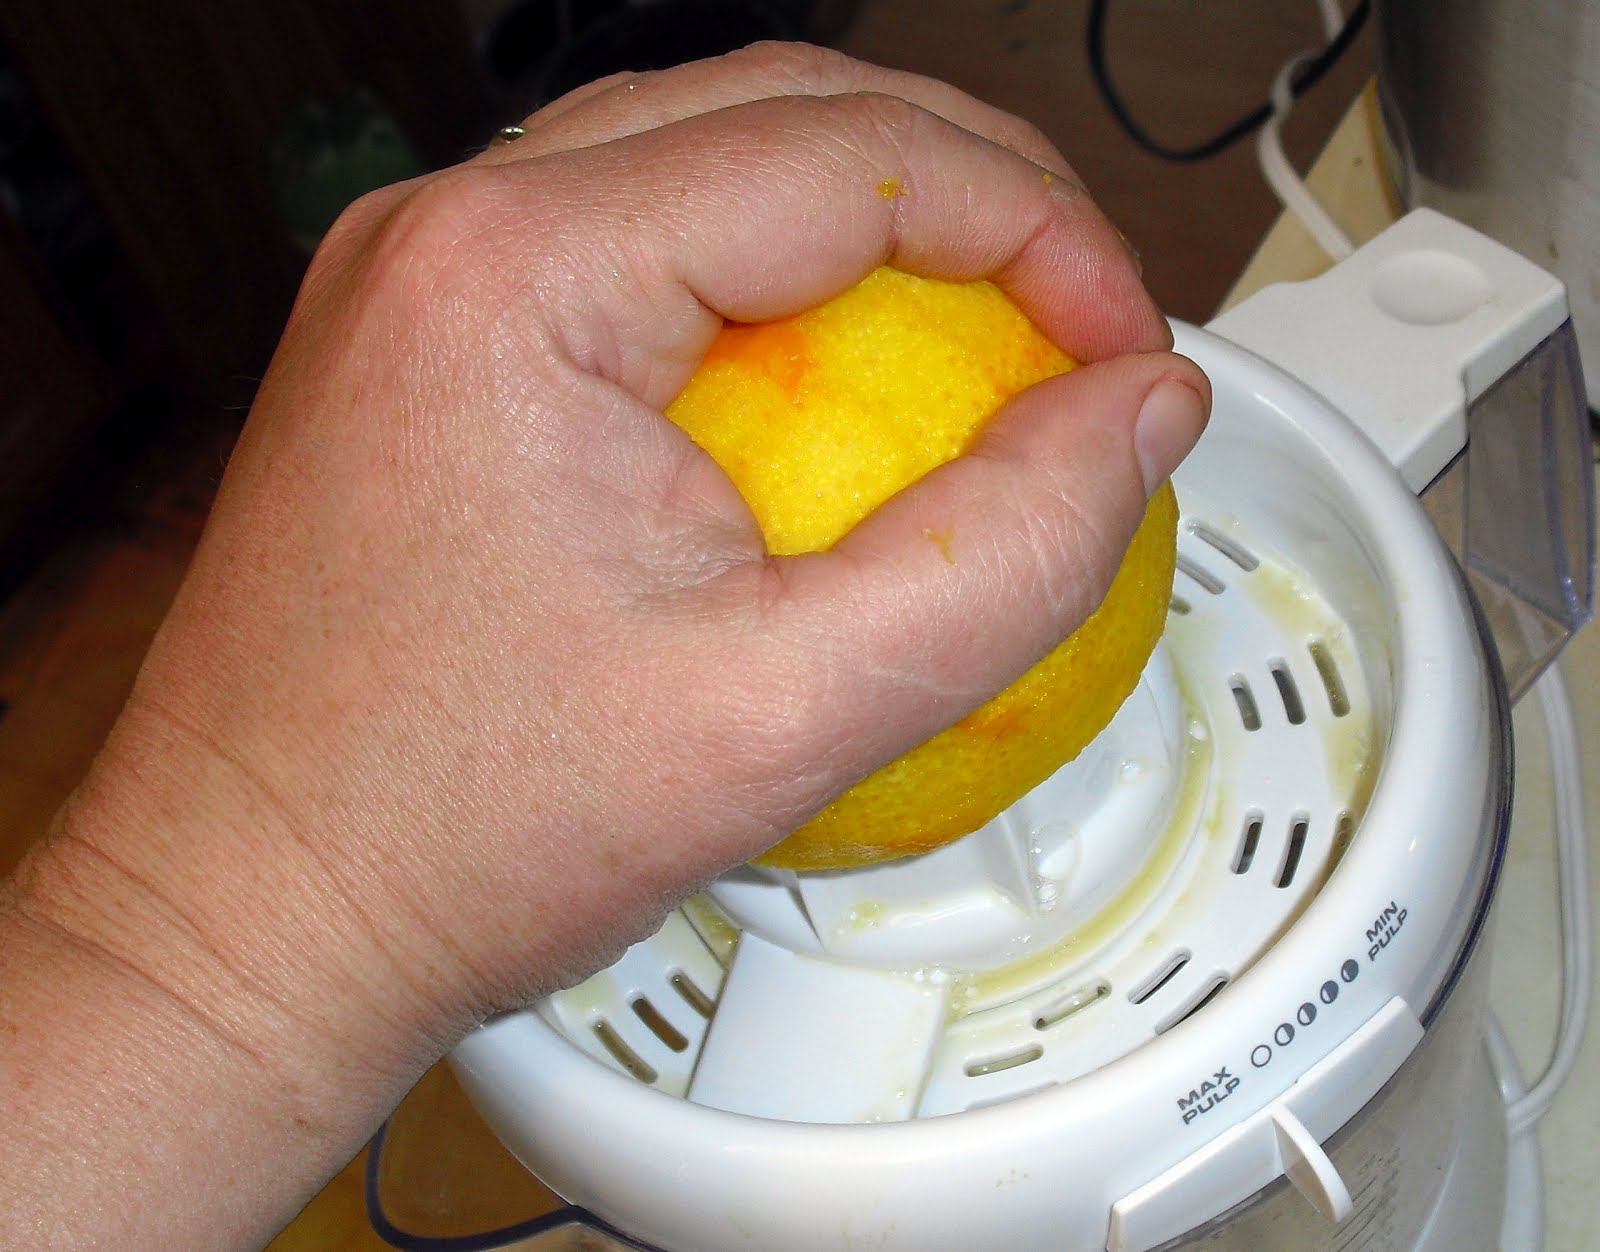
I juiced the oranges, of course. Fresh squeezed is soooo much better than store bought. The oranges were a little more slippery now that the outer zest was off of them. But it was easier to deal with that than to try to cut and juice them first, and then take the peeler to the rind.


8 oranges worth of zest was probably excessive, but I didn't want to waste what I had picked. At this point, I'll leave it a few weeks, and then strain out the solids and see what I'm left with.

To be continued.

Thursday, February 23, 2012

I found a loom!


Did I need another weaving loom? No, I did not. I have two floor looms already, plus several other little specialized ones. But...I couldn't pass this one up. Really! 8 harness, 40" weaving width. Back beam converts to sectional. Included a horizontal warping mill, a vertical warping mill, a spool rack, a raddle, two reeds, a shuttle, and a sley hook. (That all is weaverese for Dang, this is a cool loom!!!) No, I'm not telling how much I spent, but much less than the several thousands I should have.

Some people bring home stray cats. I bring home stray looms.

Realistically, I should turn around and place this beauty in a good home. I don't have room, and someone else might love it. I'd give a good deal on it. Probably about $600, which is a steal, but I want it to go be used.

But...I think I want to play with it a few times first! Unless someone snaps it up, I think I'll make some dress fabric. Lets see...I've already got some yarn.....

Tuesday, February 21, 2012

Ding-Dong Ditch Banana Bread


Ding-Dong Ditch Banana Bread

1/2 c butter, softened
1 c sugar
2 eggs
3 mashed bananas
2 c all purpose flour
1 tsp baking soda
1 tsp vanilla extract
1 tbs cinnamon

Preheat oven to 350F. Grease and flour one 9" x 5" pan.

Cream together the butter and sugar until smooth. Beat in the eggs. Beat in the banana. Add the flour, baking soda, cinnamon, and vanilla extract.

Pour into the pan, and bake 1 hour or until you can poke a toothpick into the center of the loaf and it comes back out clean.

Remove from pan and let cool. If there are any left overs, store them in the refrigerator.

**********

OK, so why is this called Ding-Dong Ditch Banana Bread? When I was growing up (before internet and video games), bored children would play a game called ding-dong ditch. They'd sneak up to some one's house, ring the doorbell, and run giggling away before anyone actually answered the door. Points if you could hide nearby to see the door open, and the puzzled home owner look out at the empty stoop, scratch their head, shrug, and head back inside. If you wanted, you could take it up a level and leave something on the doorstep for the home owner to find. Sometimes this was rather mean spirited, and sometimes it was a gift. (I'm still not sure where a basket full of garden grown zucchini falls in that spectrum...)

So....tonight I was experimenting and made a loaf of banana bread, using the above recipe. It was easy to throw together, and made the house smell heavenly while it was cooking. I snapped the picture so I'd have an entry to my 365 project for the day (http://365project.org/lissamc/365), then let the loaf cool just barely enough before I cut myself a couple of slices. Mmmmmm... Good texture, and not too sweet! I topped the warm pieces of bread with some real butter and some thin slices of sharp cheddar cheese, then went downstairs to my computer to gloat over FaceBook that I had Fresh Banana Bread.

Well, the gloating worked to draw my other midnight friends (did I mention I was baking at 11 at night?) out of the woodwork. One of the folks who popped up was an imaginary friend--meaning I knew them only through the internet, and had never met them in person. She had spent the day at the hospital with a sick family member, and hadn't eaten much, and envied the Fresh Banana Bread. We started comparing notes...and I found that she only lived a mile and a half away! Hmmmmm......

Cue the Mission Impossible theme song! (Do you hear it in your head now?) I chopped off half the loaf and wrapped it up in tin foil, darted out to my car, and managed to find my way through the darkened back roads to her house. Without even getting lost! She actually caught me before I managed to sneak up and ring her door bell, but I successfully delivered a giggle, a hug, and a hunk of still warm bread, and chased her back inside where it was warm.

I can now attest that she isn't imaginary after all, but is a Real Girl. And I am still giggling at the Midnight Banana Bread Run. Complete with theme music.

And the bread is now officially 'Ding-Dong Ditch Banana Bread' in my recipe file.

Friday, February 10, 2012

Renovating the game room, continued

We've been working on renovating our game room for the past couple of weeks. Last time you saw pictures of the process here, we were ripping everything out of the room--furniture, carpet, shelves, and all.

So, the next thing we did was to mask the windows and such, so we could paint. We didn't have to put tarps down, because we'd ripped out the carpet and planned on putting in new flooring. That made things much less fiddly!


We took out the ceiling fans too, so we could paint the ceiling. That meant we brought in work lights. I had to take this shot, since I loved the pattern the lights made against the wall. (No, the wall isn't orange. But the color you see really depends on the color of the light available to you.)


We took the moldings off, and sanded them down, and painted them too.You can see that the walls ended up a pale peachy-cream color, instead of stark white. It still gives a nice neutral light background, but the color adds a little of visual warmth to the room. I would have gone with a darker shade, but I got over-ruled by my husband wanting white. This was our compromise.

After the walls dried, we put down a padding and moisture barrier, and then laminate flooring in a light oak color. The technology on this has improved since we did the upstairs in a similar way. Upstairs, we had to glue each board one to the next. This time, it was a simple snap together tongue and groove technology. That made things go much faster!

The dogs approve of the new flooring for napping purposes. They're a little unsure about playing chase the laser red bug on it though, due to lack of traction when they're taking off. Imagine a cartoon chase, where the legs go a hundred zillion miles per hour for seconds before the body actually gets around to moving. Yup. Like that. I did order an area rug today, so that should help them out.


So, once the walls and floor were pretty much done (I say pretty much, because we still have the stairs and the front entry way to do) we started putting the fixtures and walls back together. Instead of using a desk for the entertainment center this time, we put up a series of shelves to hold electronics, games, and such.

Once the structural stuff was up, it was time to move things back in.


While we were at it, we made a point of going through our games, books, and movies with an eye towards only putting away things we were actually going to use again. The rest of it went outside into the back of my van. There will be a trip over to a second hand book store in our near future, to trade things in. New books!! It is all good. (You can't really tell that we took anything out of the house. We just may be pack rats when it comes to books and movies. Maybe.)


And then over the past few days we got the furniture in place, and art work back up on the walls. There is still work to be done, but we invited folks over for our regular Friday Night Game evening. I'd say the room works!!