Showing posts with label recipe. Show all posts

Tuesday, May 22, 2012

Orange Mint Tea

This is a follow up to this post on drying my garden mint: http://tangibledaydreams.blogspot.com/2012/05/first-try-at-drying-mint-for-tea.html

So, last week I harvested some of my overgrown mint and hung it in the window to dry, with the thought that I might be able to make my own mint tea instead of buying it at the store. I hadn't tried drying my own herbs before, so it was a bit of an experiment. It seemed simple enough in theory. And in fact, it worked beautifully. A week of hanging in the dry Arizona air, and the mint leaves were crumbly.


I stripped them off of the stems, and sealed them up in an air tight container. There was enough to almost fill the container!


Now, yesterday we were juicing up the last of the oranges from the back yard tree, and I had a thought. I did a bit of a web search and sure enough, dried orange peel is also a good tea ingredient. And I know that there have been no pesticides sprayed on our tree, and the peel hasn't been waxed like the store bought fruit often is. (If I make this with store bought oranges, I'll be sure to wash them very well first.) So I had my sweetie take a vegetable peeler to the outside of the orange to slice off just thin orange rind part. I put the shavings on my food dehydrator, and put them on low for a few hours until they also became kind of crunchy. I let them sit over night to cool, and today I packaged them up too.


So tonight? I took a handful of the dried orange peel, and broke it up into smaller pieces.


I took a handful of the dried mint, and crunched it up too.


That all got added to a tea infuser.

I heated up some water, and then added a dollop of honey.


Then the mint and orange peel went in.


And then I let it steep for awhile.


And now? I am sipping at a perfectly delightful cup of tea! It is gently fragrant, very tasty and mellow, with no hint of bitterness from the peel. And I know exactly where the ingredients came from.

(Hmm...except the honey. I don't suppose the dogs (or the neighbors!) would appreciate hives in the back yard, dang it. I'll have to find a local bee keeper next.)

Sunday, February 26, 2012

Orange Vinegar

It is getting close to Estrella time for me (estrellawar.org), which means I'm starting to look at doing some food prep. One of the things I make every year is a drink called sekanjabin. I did a post on that one a few years ago, here: http://tangibledaydreams.blogspot.com/2010/01/sekanjabin-and-dried-fruit.html . It is a syrup made of vinegar, honey, mint, and water. The syrup lasts unrefrigerated for quite some time. To drink, you mix one part syrup with about 8 parts water, and serve it either chilled or hot.

Well, it is also orange harvest time here, and I was squeezing some oranges for juice today. I got to thinking...and put a cup of white vinegar aside with some orange peels and rosemary in it. I'll let it sit for a week or two, strain out the solids, and then put it in a spray bottle about half and half with water. I use vinegar water for cleaning, and I think the orange oils (cleaning) and rosemary (disinfectant) will add a nice punch to the home made cleaner. It should smell better, too.

And then as I was putting that on the pantry shelf to do its thing, I got to thinking about the upcoming batch of sekanjabin. And wouldn't it be good if I used orange infused vinegar to make it with? I had to try it. So, here is how I'm making the orange vinegar:


First I went and picked 8 oranges.


I brought them in and gave them a good washing, to get air born whatever off of the skins.


Then I used a potato peeler to take just the orange outer layer of peel off of the orange.


I had a bottle of apple cider vinegar with just over 2 cups left in it, which is what I need for the sekanjabin recipe. I popped the peels right into the bottle.


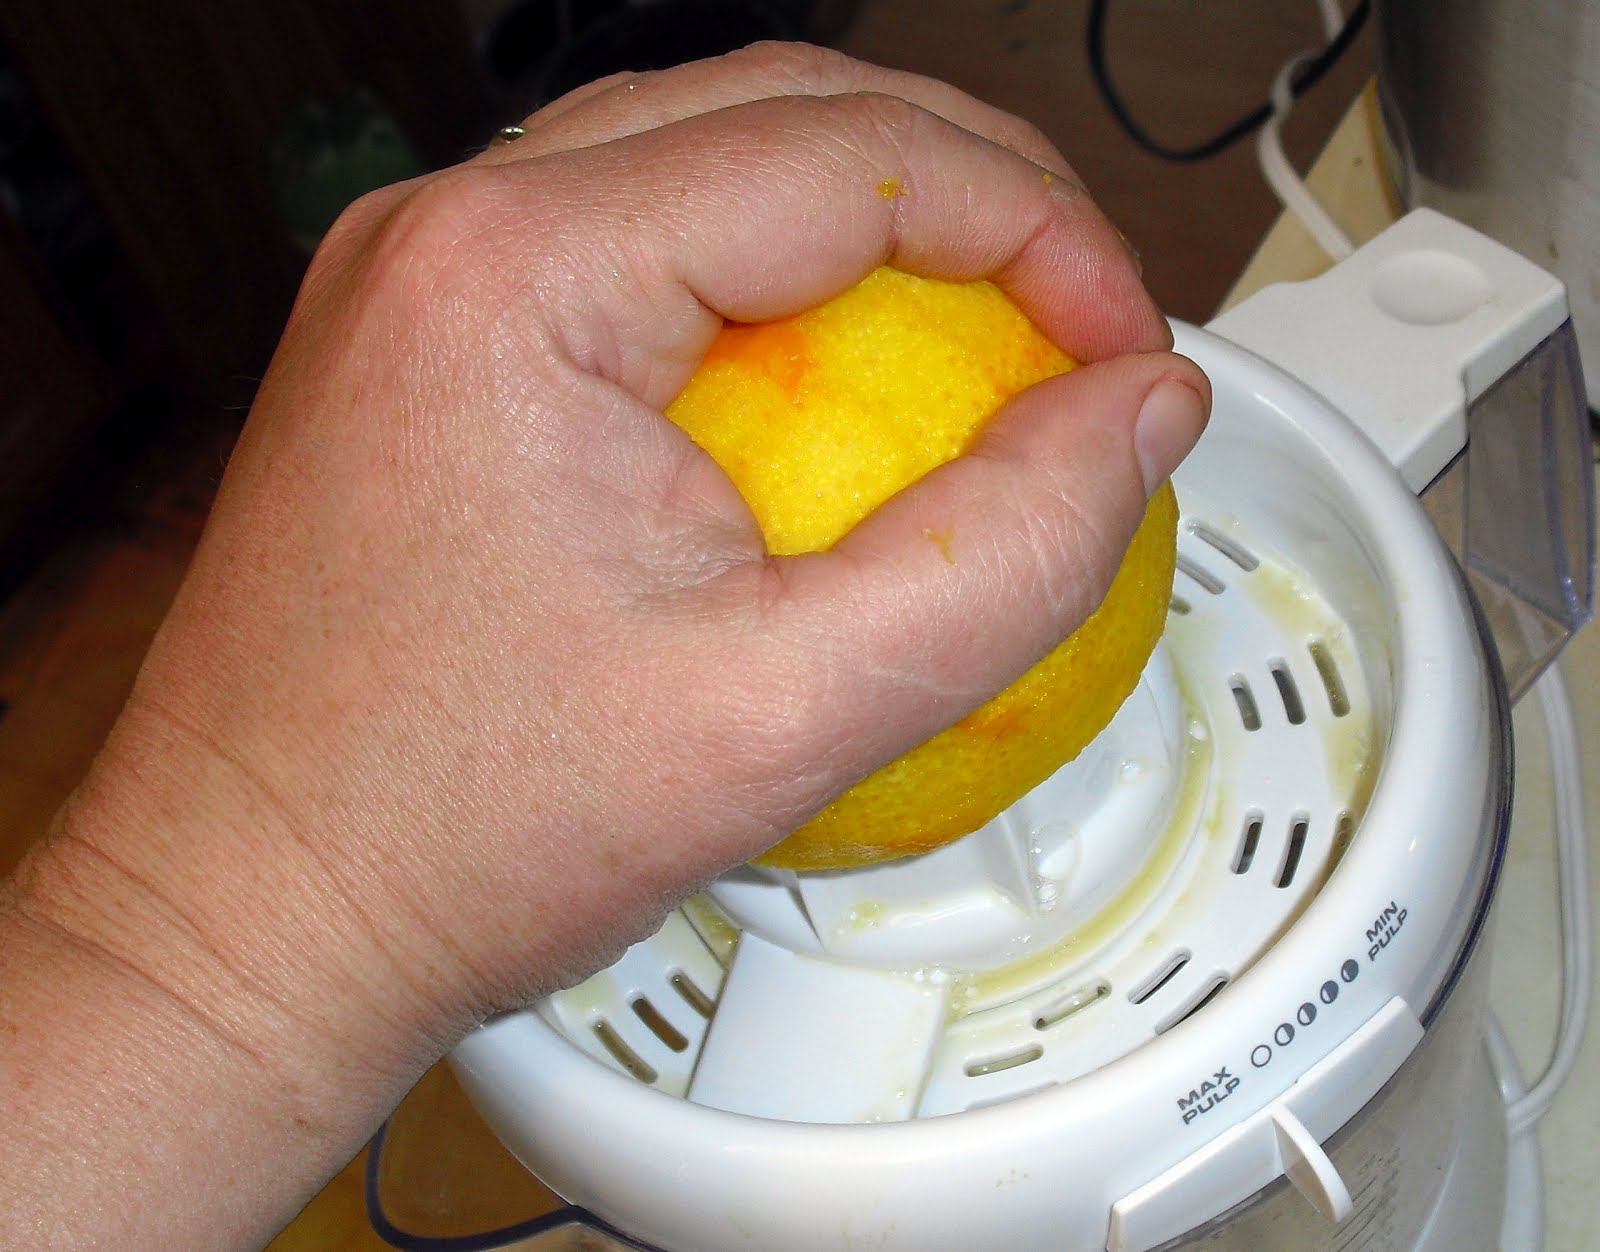
I juiced the oranges, of course. Fresh squeezed is soooo much better than store bought. The oranges were a little more slippery now that the outer zest was off of them. But it was easier to deal with that than to try to cut and juice them first, and then take the peeler to the rind.


8 oranges worth of zest was probably excessive, but I didn't want to waste what I had picked. At this point, I'll leave it a few weeks, and then strain out the solids and see what I'm left with.

To be continued.

Tuesday, February 21, 2012

Ding-Dong Ditch Banana Bread


Ding-Dong Ditch Banana Bread

1/2 c butter, softened
1 c sugar
2 eggs
3 mashed bananas
2 c all purpose flour
1 tsp baking soda
1 tsp vanilla extract
1 tbs cinnamon

Preheat oven to 350F. Grease and flour one 9" x 5" pan.

Cream together the butter and sugar until smooth. Beat in the eggs. Beat in the banana. Add the flour, baking soda, cinnamon, and vanilla extract.

Pour into the pan, and bake 1 hour or until you can poke a toothpick into the center of the loaf and it comes back out clean.

Remove from pan and let cool. If there are any left overs, store them in the refrigerator.

**********

OK, so why is this called Ding-Dong Ditch Banana Bread? When I was growing up (before internet and video games), bored children would play a game called ding-dong ditch. They'd sneak up to some one's house, ring the doorbell, and run giggling away before anyone actually answered the door. Points if you could hide nearby to see the door open, and the puzzled home owner look out at the empty stoop, scratch their head, shrug, and head back inside. If you wanted, you could take it up a level and leave something on the doorstep for the home owner to find. Sometimes this was rather mean spirited, and sometimes it was a gift. (I'm still not sure where a basket full of garden grown zucchini falls in that spectrum...)

So....tonight I was experimenting and made a loaf of banana bread, using the above recipe. It was easy to throw together, and made the house smell heavenly while it was cooking. I snapped the picture so I'd have an entry to my 365 project for the day (http://365project.org/lissamc/365), then let the loaf cool just barely enough before I cut myself a couple of slices. Mmmmmm... Good texture, and not too sweet! I topped the warm pieces of bread with some real butter and some thin slices of sharp cheddar cheese, then went downstairs to my computer to gloat over FaceBook that I had Fresh Banana Bread.

Well, the gloating worked to draw my other midnight friends (did I mention I was baking at 11 at night?) out of the woodwork. One of the folks who popped up was an imaginary friend--meaning I knew them only through the internet, and had never met them in person. She had spent the day at the hospital with a sick family member, and hadn't eaten much, and envied the Fresh Banana Bread. We started comparing notes...and I found that she only lived a mile and a half away! Hmmmmm......

Cue the Mission Impossible theme song! (Do you hear it in your head now?) I chopped off half the loaf and wrapped it up in tin foil, darted out to my car, and managed to find my way through the darkened back roads to her house. Without even getting lost! She actually caught me before I managed to sneak up and ring her door bell, but I successfully delivered a giggle, a hug, and a hunk of still warm bread, and chased her back inside where it was warm.

I can now attest that she isn't imaginary after all, but is a Real Girl. And I am still giggling at the Midnight Banana Bread Run. Complete with theme music.

And the bread is now officially 'Ding-Dong Ditch Banana Bread' in my recipe file.

Sunday, December 18, 2011

Late night cooking: scrambled egg and sardine sandwich

My taste buds are very happy, and my tummy is wonderfully full. Ahhh...comfort food. No, there are no pictures with this because I didn't think it would be so tasty while I was rummaging around the kitchen.

It is 2 in the morning, and I'm just thinking about getting sleepy, but I had the munchies. Now, I could have some chips, or some ice cream, but I wanted something with at least a slightly closer resemblance to real food. So I went up and rummaged around the kitchen until inspiration struck, and I came up with this surprisingly nummy sandwich:

Egg and Sardine Sandwich

Ingredients:
2 slices bread
1 egg
1/2 tin sardines, diced
cayenne pepper
1 slice American cheese
butter

Melt a tbs or so of butter in a skillet. Toss in your bread, and toast it until lightly golden. Remove from pan. Add the egg and the sardines into the skillet, and scramble them together until the eggs are cooked. Assemble the sandwich: Add half of the egg/sardine mixture to your bread, put in the slice of cheese, and stack the rest of the mixture on top of the cheese. Sprinkle to taste with cayenne pepper. Toss on the other slice of bread to make it a sandwich, and have at it.

EDIT: Ok, I tried this on my family at lunch today, and they all looked at me like I had grown another head. Evidently this is only really good if you already like sardines. Which they don't. (Well, I still liked it!)

Saturday, September 25, 2010

Recipe: Apple Sauce


My husband and I went apple picking last weekend. It brought back all sorts of childhood memories of going to the orchard in the fall, but that was in the Midwest US. I didn't think we had apple orchards here in the middle of the Arizona desert, but it turns out I was wrong. A little ways north of the town of Wickenburg is Date Creek Ranch, where you can go and pick your own fruit. http://www.datecreekranch.com/

So, I've been processing apples this week. I cut and peeled and sliced, and made a batch of dried apple chips on the food dehydrator. And then, one of my son's favorites is apple sauce. I'd never made it from scratch before, but I was willing to give it a try. The first batch turned out so well that when I found apples on sale at the grocery store, I bought more so I could do it again. Here's what I did:

The apples from the orchard were small enough that I had to peel and core them by hand, but store bought apples are big enough to use my cool apple slicer/corer/peeler gadget. (Similar to this one: http://www.amazon.com/Industries-5920-Apple-Peeler-Slicer/dp/B001A6E91E , but a different model.)


Here's the apples, all cored and spiral sliced. I removed the rest of the peel bits, and cut each apple in half.


I put the slices in a sauce pan, and added a half inch or so of water in the bottom of the pan. Then I covered it, and simmered the apples for 15 minutes or so, until they became mushy.


I added 1 tsp of cinnamon.


And then added 1/4 C sugar. Cinnamon and sugar is to taste, but that is a good starting point.


Then I took a potato masher, and started squishing away. You could use a food processor, but this gadget was handy. And I like the slightly chunky texture that it gives.


After several minutes of squishing and splashing, I had applesauce! Very very tasty stuff. It is in the refrigerator now, chilling for tomorrow's eating.


So, why didn't I realize that apple sauce was this easy before???

Friday, September 17, 2010

Recipe: Oat Cakes


My daughter went off to college recently, so it is time to think about making stuff to go into care packages. I usually make these oatcakes for extended camping trips, because they keep well and are great for grab and go breakfasts. So I decided to make up a batch today, half for quick breakfasts before work, half to send north to Michelle.

I don't recall where I got the recipe originally, but I know I did add more sugar to meet my family's tastes. I've made this with bits of dried apple added to the batter, and that was quite good too. I've seen it made with raisins, but they tended to fall out of the finished product. Try it, and then experiment away!

Oatcakes

6 C rolled oats
1/2 tsp baking soda
3 C flour
2 C Crisco
1 1/2 C Sugar
1 tsp Salt
about 1 C cold water, as needed
extra flour to flour the board/counter when you roll out the dough

Preheat your oven to 375F. Mix the dry ingredients together in a large mixing bowl. Cut in the Crisco until mealy. Add the cold water a little at a time, until the dough forms a ball. Flour a board, and roll out your dough in batches, to about 1/4" thick. Cut into 2-3" squares. Bake on a baking sheet until lightly brown, around 20 min.

Friday, August 13, 2010

Recipe: Mulled Mushrooms (great for pot lucks)

I'm going to an SCA event tomorrow, called RenMan. The day will be filled with dancing (which I'm teaching), rapier tournaments, feasting, games, crafts...all in all a wonderful time hanging out with friends. We'll be having a silent auction, to raise money to pay for the lights we use for summer time practice. (It is too hot in the summer in Arizona for the sword fighters to practice during the daytime.) I made up a Viking wire woven necklace in the local group's colors to go into the auction:


For the feast, the event will be providing meat and bread, but everyone else is supposed to bring side dishes, pot luck style. I'm going to be bringing my Mulled Mushrooms. They are dirt simple to do, and I get raves every time I bring them. In fact, by now if I don't bring mushrooms I get pouted at.

The recipe? Well, such as it is, here you go:

Mushrooms, whole or chopped into large pieces, washed
Italian dressing
soy sauce

Put the mushrooms into a sauce pan or crock pot. Just cover with equal parts soy sauce and Italian dressing. Simmer for awhile.

You can save the sauce after you're done with the mushrooms, and use it to flavor a pot roast later on. I used to do these on the stove top in a sauce pan, but for potlucks where there will be a plug available it is easier to use the crock pot. I just combine all the ingredients in the crock pot when I get to the event, and plug it in. By the time dinner rolls around, the mushrooms are hot and done. They shrink down while cooking, so I'll sometimes pile more mushrooms in the pot once there is room.

Wednesday, August 11, 2010

Recipe: Almond Cream Crepes

I haven't been posting much recently, because I've been busily getting my eldest all set to head out to college in a few weeks. Can you believe it?? She just turned 18 today, and we all went over to my folks' place for dinner to celebrate. We taste tested smoked northern pike vs smoked walleye for appetizer. Then we had leg of lamb, potatoes, carrots, and gravy for dinner. And for dessert, my folks made an old family favorite, Almond Cream Crepes. I am sooooo full!

I had a friend ask for the crepe recipe, so here it is:

Almond Cream Crepes

Source: "To Make it Taste Right" by Ginny Wold

Preheat oven to 350F

Crepes:
1 c flour
2 tbs sugar
3 eggs
1 1/2 c milk
2 tbs butter, melted

Blend and beat together all ingredients. Refrigerate several hours until batter is smooth and thickened. Fry crepes on both sides in a lightly buttered crepe pan, using scant 1/4 c batter per crepe. Cool in single layer on cookie sheet. Can be frozen between 2 layers of waxed or parchment paper each. Then put the stack into freezer bags.

Filling:
1 c sugar
1/4 c flour
1 c milk
3 eggs, beaten
3 tbs butter, cut into chunks
2 tsp vanilla
1/2 tsp almond extract
1/2 c ground toasted blanched almonds

Mix sugar and flour. Add milk, cook and stir over medium heat until thick. Continue cooking and stirring 2 minutes longer. Stir some of the hot mixture into the beaten eggs to temper them. Then return egg mixture to hot mixture and stir in. While stirring, bring just a boil. Remove from heat. Stir in chunks of butter, vanilla, almond extract, and ground almonds. Cool. Spread crepes with about 2 tbs filling. Roll up and place seam side down in a buttered 9"x13" baking pan. Bake in 350F oven for about 20 min until hot.

Topping: 1 part sifted powdered sugar mixed with 1 part grated unsweetened chocolate. Spoon as garnish over hot crepes.

Saturday, February 27, 2010

Cooking post: Candied Orange Peel


It is late winter, which in Phoenix, AZ means it is citrus season. We have an orange tree in the back yard, and each year at this time it is loaded with juicy goodness--usually more than we can eat! (Citrus is Arizona's equivalent to zucchini in the Midwest USA. If you're not careful, folks will play ding-dong-ditch with baskets full of the stuff!)

So for lunch today, I served my kids fresh squeezed orange juice off of our tree. Then, instead of throwing the peels away, I decided to give my mom's recipe for Candied Orange Peel a try.

Candied Orange Peel

8 oranges (or 14 lemons)
water
4 cups sugar, divided
1 cup water


After juicing the oranges, cut the peel into sections and remove the remaining pulp.


Place the peels in a 4-6 qt pot, and cover with cold water. Bring to a boil, uncovered, then simmer for 10 minutes.


Drain, and allow to cool.


Using a spoon, scrape the white pith from the colored part of the peel.


This takes awhile. No, really.


I suggest press-ganging random teenagers to help you out.

(I understand there is a recipe that blanches the peels several times to remove the bitterness, and skips this step. I'm going to try that one next.)


Discard the pith, and slice the peel into 1/4" strips.


Return saucepan to heat, and add 2 cups sugar and 1 cup water. Heat to dissolve sugar.


Add peel, and simmer gently, 45 minutes, stirring occasionally.


Remove peel and drain on fine mesh cooling rack, with a pan underneath to catch the drips. Spread the peel out so it will dry evenly. Allow to cool and dry 1 hour.


Do save the orange flavored syrup for later use. It is nummy on pancakes! Mom also uses it in BBQ sauce, or brushed on pineapple and ham slices before grilling.


Place the peel in a large bowl, and toss with the remaining 2 cups of sugar, until evenly coated.


Take peel out of bowl, letting the excess sugar sift through your fingers. Place sugar-coated peel on a cookie sheet, and allow to dry overnight. Store in an air-tight container.


Save the left over sugar. It is also subtly orange flavored at this point. You can use it for your next batch of peel, or sprinkle it on french toast. (I'm going to use it in tea, myself.)


The finished candy! Slightly bitter, very sweet, and altogether addicting. This is my first attempt, and I'm really pleased with the way it turned out. Now I know what to make if someone sneaks bushel baskets of citrus onto my front porch in the middle of the night! Yum.

Thursday, December 24, 2009

Merry Christmas! (and a cookie recipe)

Merry Christmas, to everyone who celebrates the season!

And as my gift to you, here's an old family recipe for Ginger Cookies. These are from my mother's mother's father's mother, Clarissa Peruna Hall Wiest-Burke. She lived in Indiana, USA, in the mid 1800's. I remember having great fun making and decorating these cookies as a girl. Hmm...I wonder if we can whip up a batch tomorrow afternoon?


Ginger Cookies

1 cup sugar
1 cup shortening
1 cup golden molasses
2 eggs
1 tsp allspice
2 tsp ginger
3 tsp cinnamon
3 tsp soda dissolved in 1/4 cup boiling water
about 5 cups flour

Cream together the sugar and the shortening. Blend in the molasses and the eggs. Stir in the allspice, ginger, cinnamon, and soda. Blend in enough flour to make a workable soft dough--about 4-5 cups. Chill dough. Roll out on a floured surface, about 1/4" thick. Cut into shapes. Bake on greased cookie sheets in a 350 F oven for about 6-7 minutes.

We used cookie cutters, and cut these into trees and gingerbread men and other fun shapes. Then we decorated them with colored icing.

Enjoy!